Camera类
我们之前学了很多的图形学知识和相关的程序,现在我们停下脚步,来好好整理一下我们学习的内容,我们将之前的视口代码和渲染代码合并到一个新的单类camera.h,这个类主要负责两项任务:
- 构建并发射光线到世界中
- 使用光线的信息来构建渲染图像
这次的重构,我们收集以下几个功能:
新的相机类将包含两个公有方法:initialize()和render()
以及两个私有辅助方法
get_ray()和ray_color()
相机类的设计应该遵循尽可能的简单的方式,让我们在后续使用时操作尽可能的简单,使用默认构造函数,且避免复杂的初始化过程。同时允许用户通过直接赋值改变公共变量,避免复杂的setter方法。并且在渲染函数开始时,自动的调用initialize()操作,避免用户操作的复杂性。
现在我们先搭建其camera类的框架:
1
2
3
4
5
6
7
8
9
10
11
12
13
14
15
16
17
18
19
20
21
22
|
#ifndef RENDER_C___CAMERA_H
#define RENDER_C___CAMERA_H
#include "hittable.h"
class camera{
public:
void render(const hittable& world){
}
private:
void initialize(){
}
color ray_color(const ray&r,const hittable& world) const{
}
};
#endif
|
然后一一将我们的方法和属性完善首先是将main中的上色部分ray_color移动到里面
1
2
3
4
5
6
7
8
9
10
11
12
13
14
15
16
17
| class camera {
...
private:
...
color ray_color(const ray& r, const hittable& world) const {
hit_record rec;
if (world.hit(r, interval(0, infinity), rec)) {
return 0.5 * (rec.normal + color(1,1,1));
}
vec3 unit_direction = unit_vector(r.direction());
auto a = 0.5*(unit_direction.y() + 1.0);
return (1.0-a)*color(1.0, 1.0, 1.0) + a*color(0.5, 0.7, 1.0);
}
};
#endif
|
然后还有剩下的相机的建立和图像的设置也移动到里面:
1
2
3
4
5
6
7
8
9
10
11
12
13
14
15
16
17
18
19
20
21
22
23
24
25
26
27
28
29
30
31
32
33
34
35
36
37
38
39
40
41
42
43
44
45
46
47
48
49
50
51
52
53
54
55
56
57
58
59
60
61
62
63
64
65
66
67
68
69
70
71
| #ifndef RENDER_C___CAMERA_H
#define RENDER_C___CAMERA_H
#include "hittable.h"
class camera{
public:
double aspect_radio = 1.0;
int image_width = 100;
void render(const hittable& world){
initialize();
std::cout << "P3\n" << image_width << " " << image_height << "\n255\n";
for(int j=0;j<image_height;j++){
std::clog << "\rScanlines remaining: " << (image_height - j) << ' ' << std::flush;
for(int i=0;i<image_width;i++){
auto pixel_center = pixel00_loc + (i*pixel_delta_u) + (j*pixel_delta_v);
auto ray_direction = pixel_center - camera_center;
ray r(camera_center,ray_direction);
color pixel_color = ray_color(r,world);
write_color(std::cout,pixel_color);
}
}
std::clog << "\rDone. \n";
}
private:
int image_height;
point3 camera_center;
point3 pixel00_loc;
vec3 pixel_delta_u;
vec3 pixel_delta_v;
void initialize(){
image_height = int(image_width/aspect_radio);
image_height = (image_height < 1) ? 1 : image_height;
camera_center = point3 (0,0,0);
auto focal_length = 1.0;
auto viewport_height = 2.0;
auto viewport_width = viewport_height*(double (image_width)/image_height);
auto viewport_u = vec3(viewport_width,0,0);
auto viewport_v = vec3(0,-viewport_height,0);
pixel_delta_u = viewport_u/image_width;
pixel_delta_v = viewport_v/image_height;
auto viewport_upper_left = camera_center - vec3(0,0,focal_length) - viewport_v/2 - viewport_u/2;
pixel00_loc = viewport_upper_left + 0.5*(pixel_delta_u+pixel_delta_v);
}
color ray_color(ray & r,const hittable& world){
hit_record rec;
if(world.hit(r,interval(0,infinity),rec)){
return 0.5*(rec.normal + color(1,1,1));
}
vec3 unit_direction = unit_vector(r.direction());
auto a = 0.5*(unit_direction.y()+1.0);
return (1.0 - a)*color(1.0,1.0,1.0) + a*color(0.5,0.7,1.0);
}
};
#endif
|
我们使用新的类来实现对main函数的简化:
1
2
3
4
5
6
7
8
9
10
11
12
13
14
15
16
17
18
19
| #include "rtweekend.h"
#include "camera.h"
#include "hittable.h"
#include "hittable_list.h"
#include "sphere.h"
int main(){
hittable_list world;
world.add(make_shared<sphere>(point3(0,0,-1),0.5));
world.add(make_shared<sphere>(point3(0,-100.5,-1),100));
camera cam;
cam.aspect_radio = 16.0/9.0;
cam.image_width = 800;
cam.render(world);
}
|
这样的操作极大的简化了后续我们的图形的渲染,你看这是渲染出来的放大版:
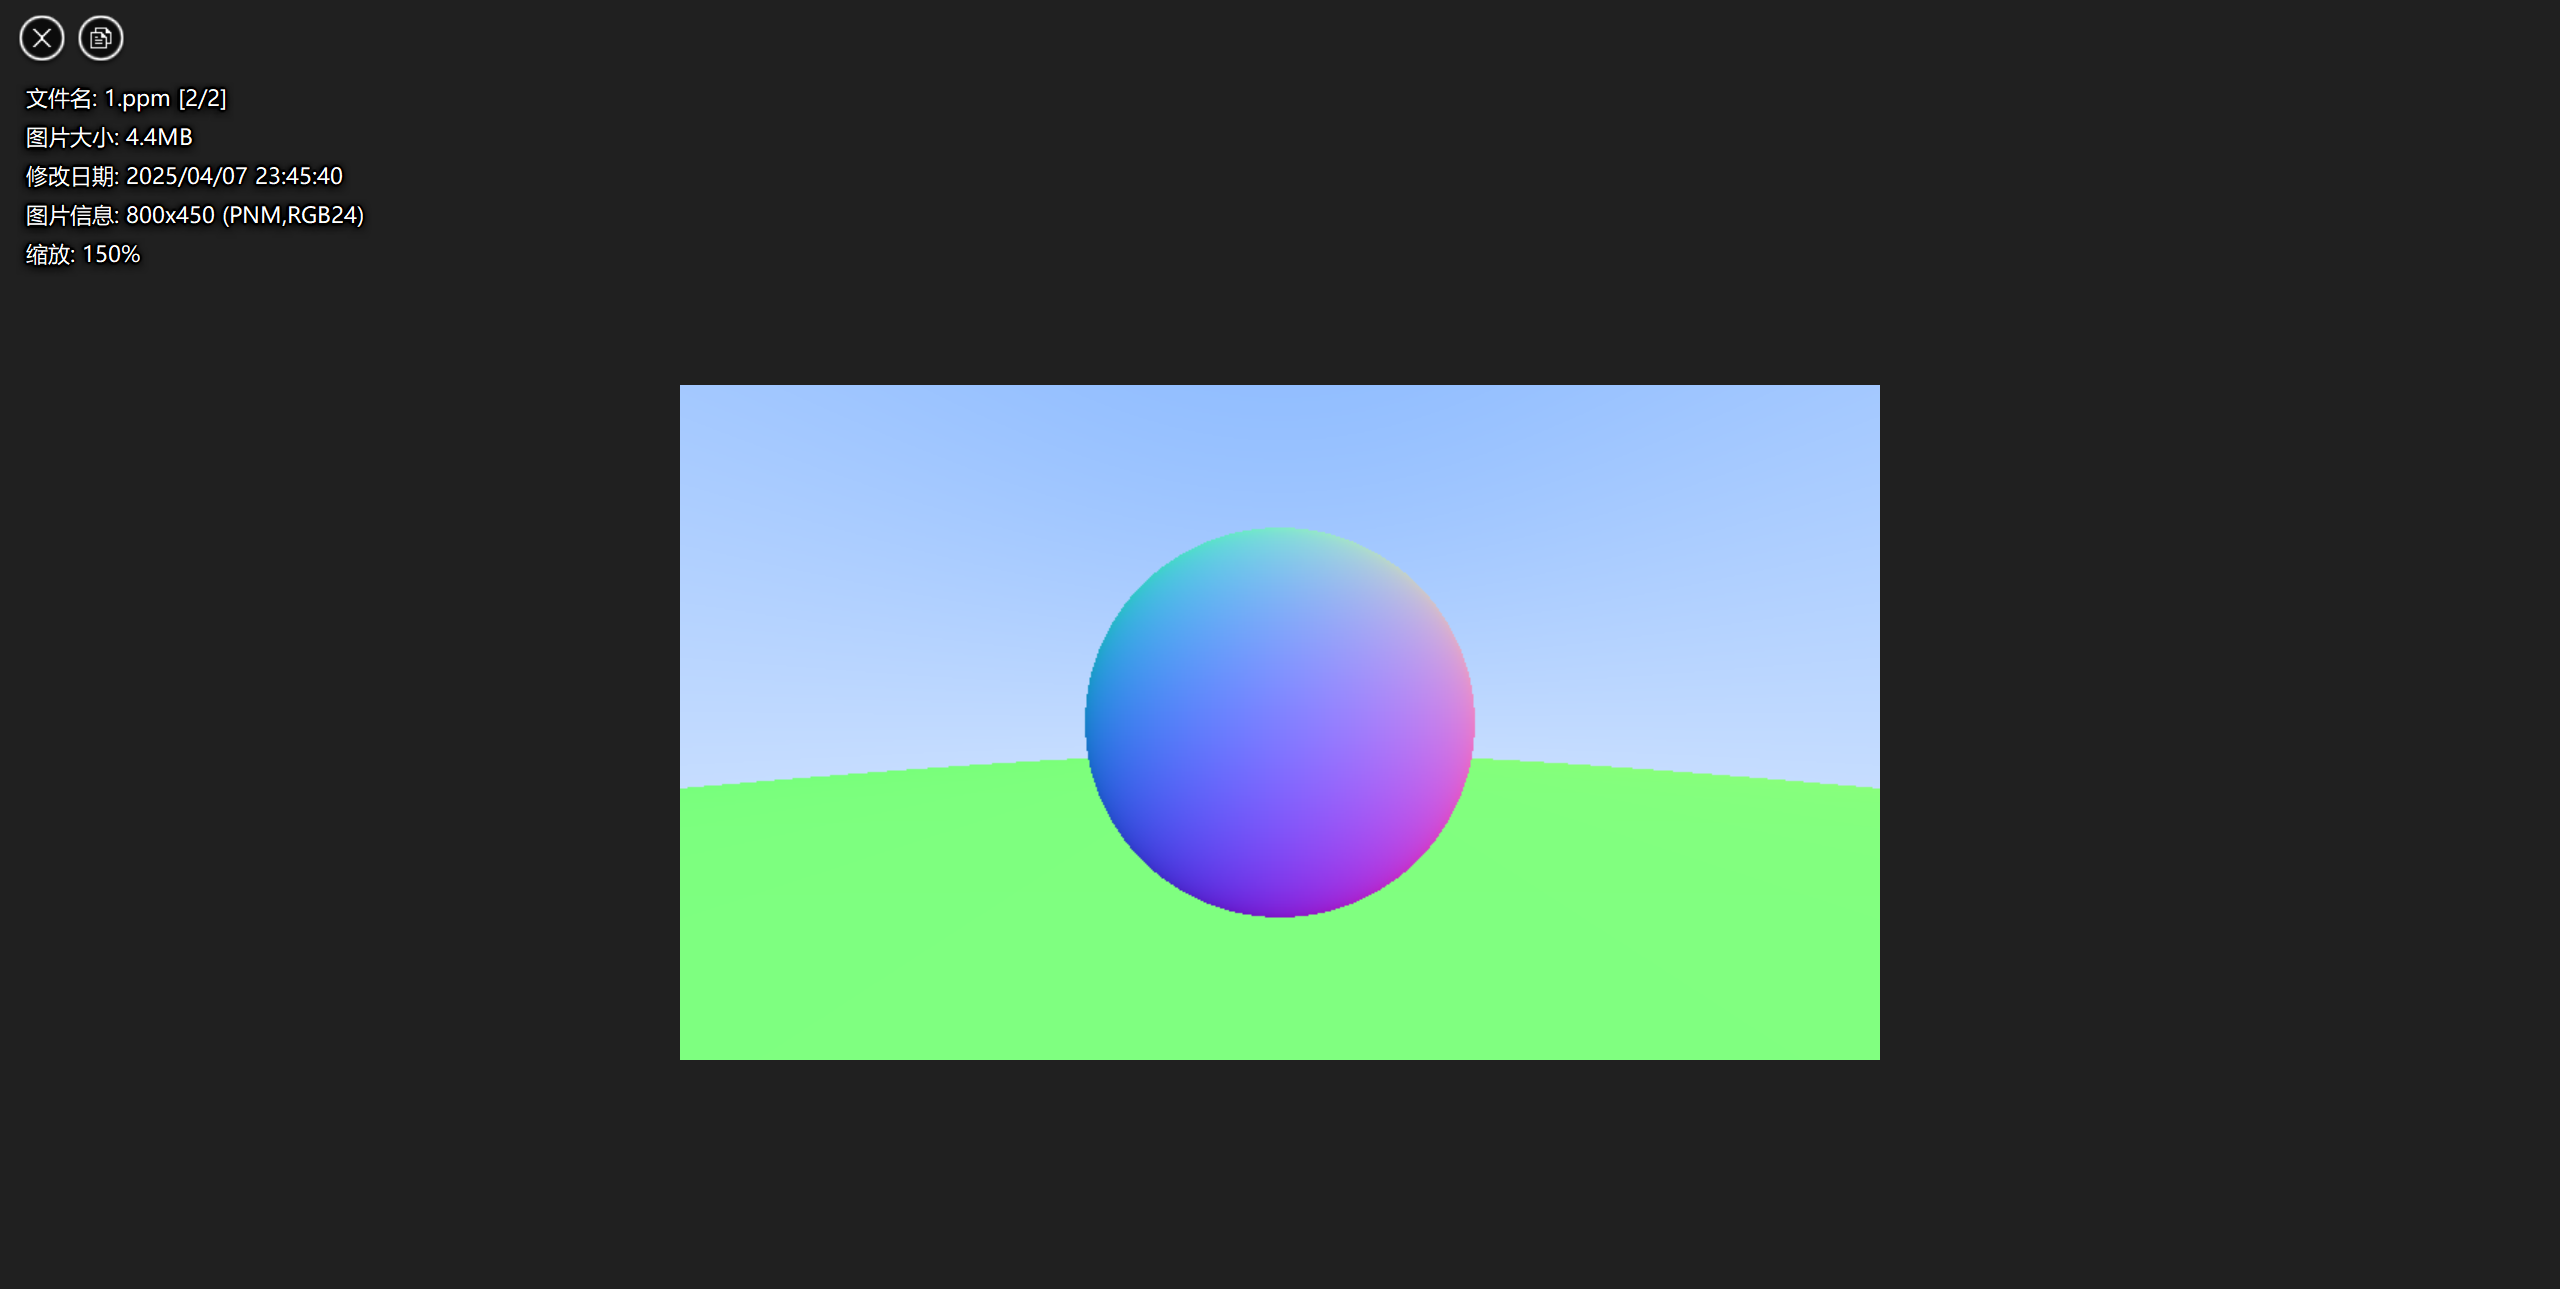 image.png
那么这一章就到此为止啦